We had a great Labor Day weekend this year with a lot of projects going on at the same time. Everything wasn't planned to happen all at once, but it did and thankfully we had enough of us to do what we needed to do because it was sort of a "race against the clock".
 |
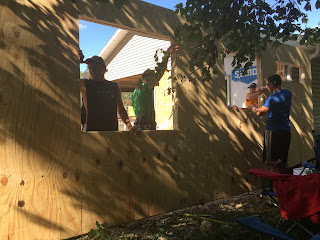
| Ember is NOT liking the noise from the saw on the back side! |
And that's just one reason to be thankfully for a big family!!
Oh, but unfortunately, we were missing one of our family members: Barrett.
And boy did we miss him!! Not for the work, although he would have been a great help, but just to have him here with us.
We've always been a really close family and when one person is missing, it just isn't the same!
~ ~ ~ ~ ~
Seriously.
Preparing for this weekend was a story in itself, but I won't be able to tell you what happened. Unfortunately, it takes me too long to write already. Maybe someday, I'll do a podcast or something like that or learn to write better and faster, whichever comes first.
But trust me when I say, "You can not write a better script", then the way our family life just plays out.
We sometimes laugh and talk about having a reality TV show, but then again, who wants to be famous?!? Sure we might make a lot of money, but being "famous"? No thanks.
Thankfully we all, for the most part, can just go with whatever happens and keep a positive attitude and laugh about it later.
Hey, and it keeps life interesting too!
Here is just a glimpse into what we did for the extended weekend.
But first...................................
The foundation of our addition was laid about 3 weeks before we started the building project thanks to our friend Mr. Balmer, the concrete extraordinaire, aka "expert".
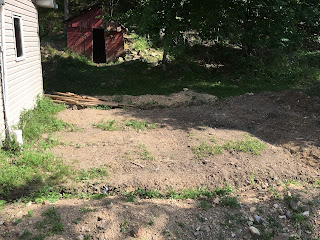 |
I've been dreaming of and designing a new mud room for that spot right there.
|
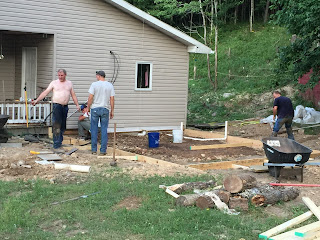 |
Our shirtless friend Mr. Balmer, the concrete expert.
|
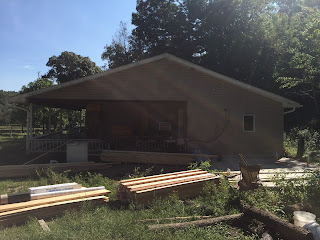 |
| Side view of the house. |
Our weekend projects:
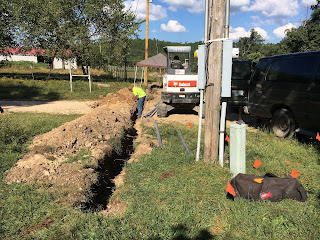
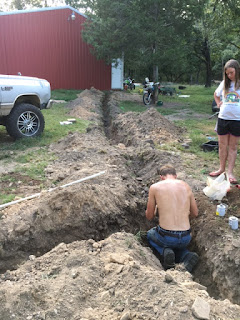
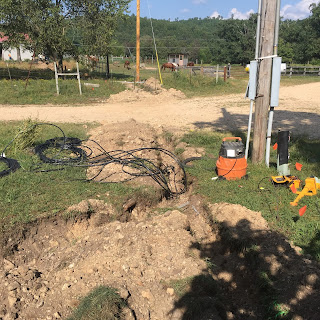
Shane was on the excavator digging trenches - about a 1/4 of a mile in total and dealing with wire and water pipes. It might not sound like a lot, but it is and was. Lots of hand digging also needed to be done so we wouldn't break any phone, electric, or water pipe lines.
 |
Road Block! "Did I hit a phone line?"
|
 |
A little over whelmed.
|
Our intersection is the spot where everything branches off in different directions so there are orange flags and spray paint lines everywhere.
 |
| Esther stopped by to help too. |
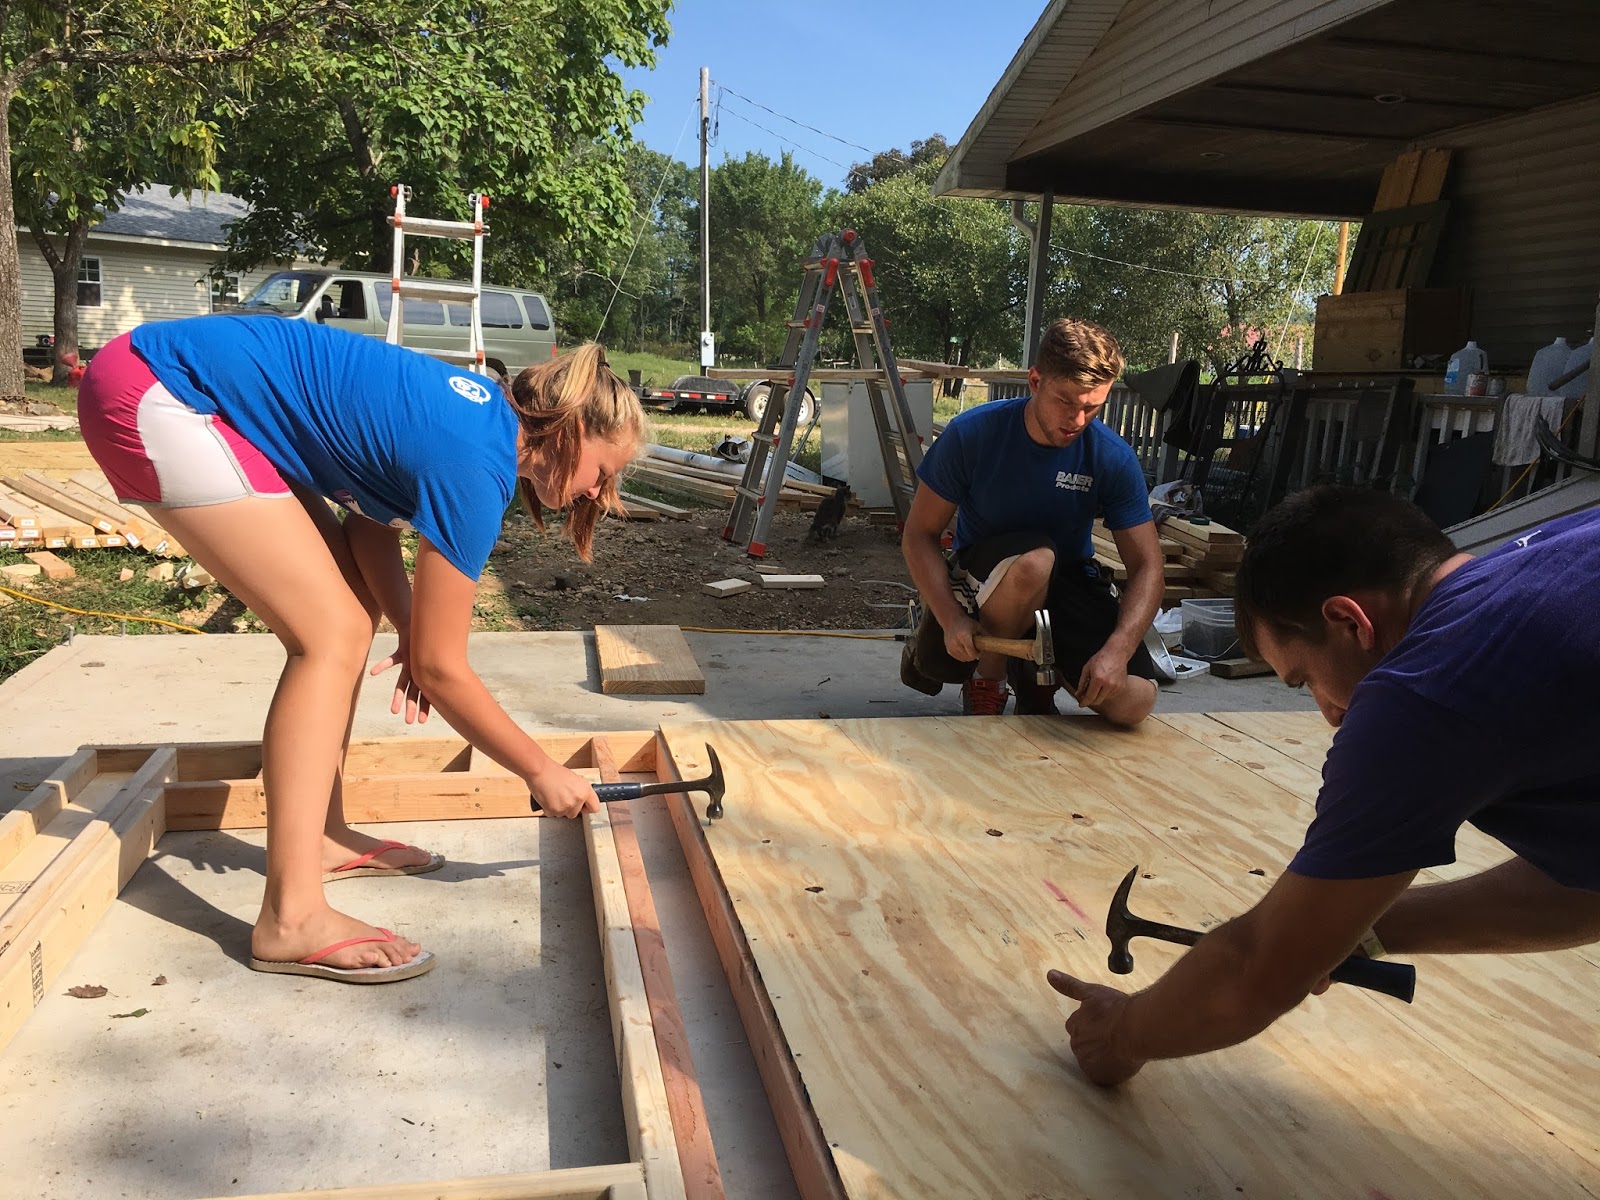
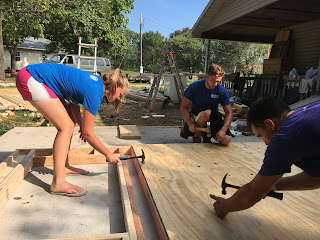
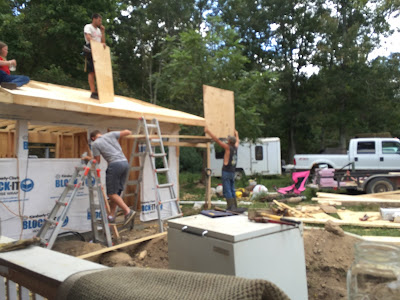
Dakota, and Tanner working on their construction skills.
Landon working on lines in trenches and working with Cooper in our hay field and a neighbors field working hay. Cutting, raking, and baling, loading, and stacking about 600 bales of hay.
 |
| In the trenches. |
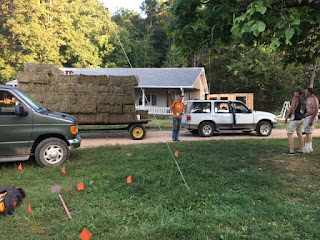 |
| First load of hay. |
Tim working on the new room and stopping to help solve whatever problems were going on.
The girls preparing and serving food and helping when needed or when they just decided too.
And me: the designer, the one to offer moral support, the go-getter, the photographer, the disciplinarian, the encourage r, etc.
That was the basic assignment, although the jobs just fell into place and there was no discussion about who was to do what. And if anyone needed help, then whoever could stop what they were doing, they would go and help somewhere else.
The trenches were dug for new electric wires to get rid of an ugly electrical pole and it's overhead wires that were in the front of the houses. Also to bury wires that were strung up in and through the trees from the main pole to a few other places around the farm. Those wires were hung there before we purchased the farm and the electric company strongly recommended that we bury those lines as well, and now was the perfect time to do that.
A long time ago, someone (who shall remain anonymous) said that we could get rid of the ugly pole that was in the front of the house. When I heard that, I got really excited and was anxious to see what we could do, because let me tell you, that pole is an eye sore!
But my excitement quickly faded when it just seemed to be too overwhelming.
 |
| The Ugly Pole |
Then months later, the electric company in town started to replace all of the electrical poles in our valley and that's when I started asking questions again.
It worked out, and after a lot of planning and talking, here we are: digging trenches for new wires!! But little did I understand what was all involved in moving just one little pole. $$
While digging the trenches for the electrical wire, we found out that that main water line was only 1/2" water pipe, so we changed that over to a 1" pipe - not something that we had planned on doing.
 |
| Water pipe. |
Everything ran pretty smooth the whole weekend except for the fact that on Monday afternoon we broke a water pipe. Fixed that one. Then we broke another pipe on Monday night, just before we were getting ready to be done for the night.
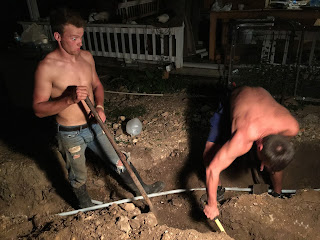 |
| Nice face Landon!! (It's funny at what point the photo is actually captured.) They're trying to find the water leak so we can fix it to take showers. I don't know what's worse, no water or no electricity?! |
At this point we all needed a shower from sweating all day and being covered in dirt and grime. And to top it off, some of the kids had to go to work the next day which meant they had to be up early. So for the next hour or so the guys worked on fixing the pipe. And that they finally did.
Unfortunately the extended weekend had to come to an end. That was a sad time. The projects aren't finished, but we are still working on them. We stayed dry for almost a week but we got hit with a lot of rain today. Thankfully it didn't do any harm although we weren't able to get all the hay into the barn before it rained.
So in a day or two when the rain stops, we'll have to go back into the field and cut the twine on the bales of hay, spread it out to fluff it up so it can dry. Then we'll have to bale it once again. It's not something that we would ever plan to do, but it's the only way to save the hay which amounts to almost 300 bales.
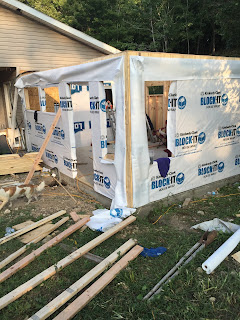
 |
| First wall and they forgot to put on the vapor barrier. Oops. |
 |
| Sorry for the blurry photo. |
 |
| Lots and lots of wire!! |
|
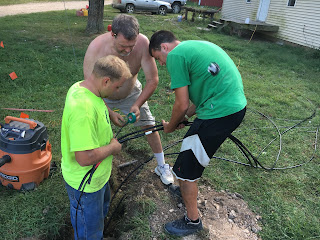 |
| Feeding electric wire. It doesn't look heavy, but it surely is!! Oh, and Tanner's photo bomb - his ball of tape he threw at Dakota. That kid is in just about every picture: physically or mentally. |
 |
| Tanner having to pose for EVERY picture! |
 |
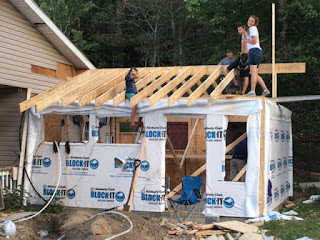
| Getting closer. |
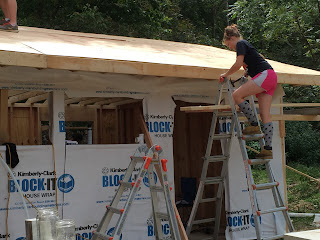 |
| Girls can climb too! |
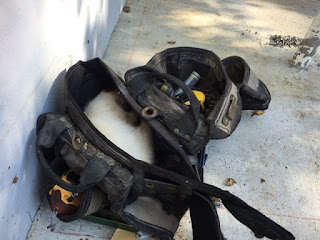 |
| The cat found a place to nap in Dakota's tool belt. |
 |
| Dakota and Emma finishing the wall. |
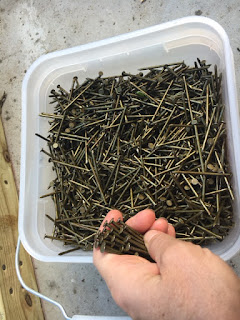 |
| Preparing the nails for the ones swinging the hammer. |
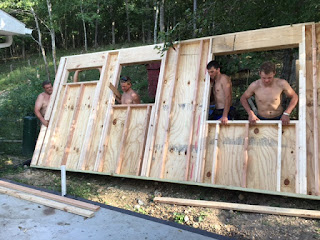 |
Setting the first wall!! Yeah, it was HOT outside!! I wish we could have had six more boys!! Oh, and a few more girls too!!
|
We'll keep you posted as we move along with these projects. One thing that would have made the mud room move along a little faster was if I had drawn my plans for it more specifically on paper. That way the guys wouldn't have had to stop so much for me to measure and think and change and measure again. That was a little frustrating to them, but I told them that they're learning great character skills this way. I don't think they thought that was to funny.
But I have to say that because we are doing this without having to submit plans to anyone, we can change as we see fit. Sometimes if you draw something on paper and follow it exactly, you don't realize what you did until you're done with it. And then it could be too late.
This way, we could stop and talk about something and then go ahead and build it.
Also, we're making our own windows and doors so we don't have to use standard sizes. I think that's the most fun about this project.
September 2016
Sandy